Springform recipes: the essential, practical guide with 12 tips
springform recipes
Whether you’re a confident home baker or just getting started, springform recipes open the door to elegant cheesecakes, showpiece tortes, layered mousses, deep-dish savouries and more. This guide explains what makes a springform tin so useful, how to choose and prepare it, and which foolproof recipes to try first. You’ll also find practical techniques for preventing leaks, avoiding soggy bases and getting spotless slices that look as good as they taste.
Below, you’ll learn the fundamentals of working with a springform tin, the smartest swaps when you’re missing an ingredient, and the common mistakes that trip up otherwise brilliant bakes. By the end, you’ll have a reliable plan for mastering both classic and creative springform bakes with minimal fuss.
What are springform recipes and why they matter
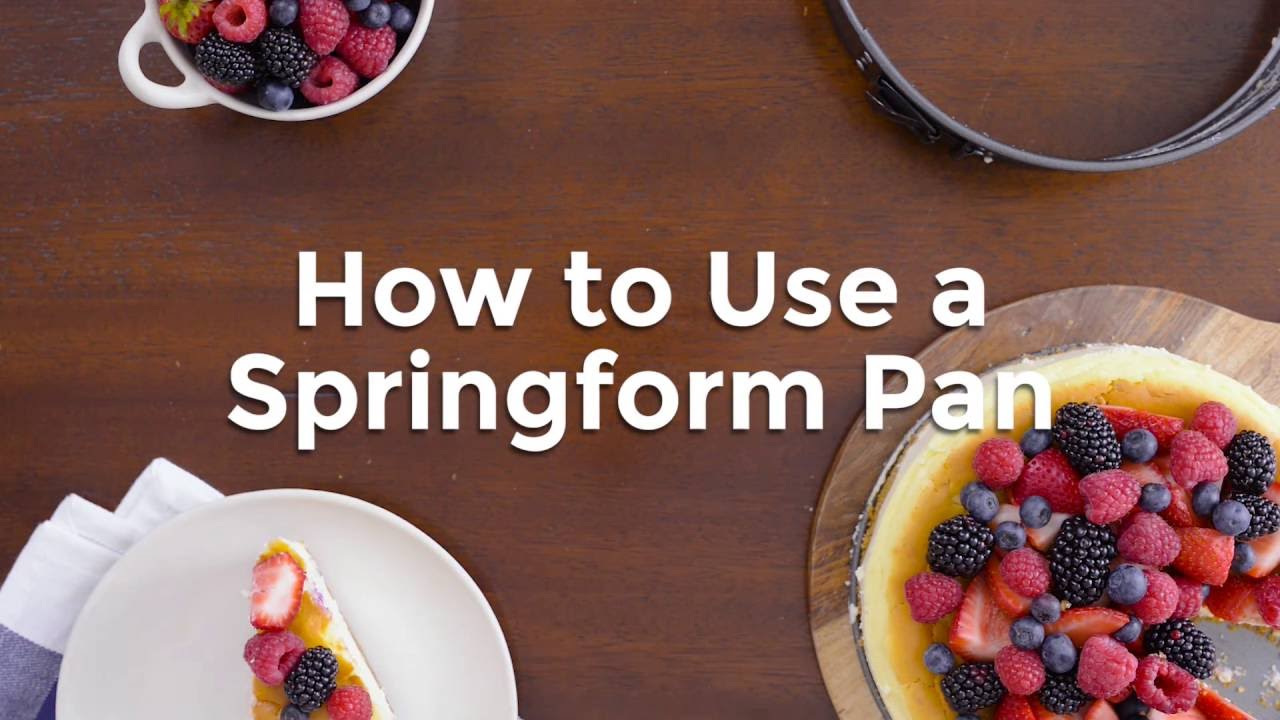
At its simplest, a springform tin is a two-part cake tin: a flat base and a circular collar with a latch that tightens around the base. When your bake is set, you unclasp the collar and lift it away, keeping the delicate sides intact. Springform recipes take advantage of this neat design for dishes that can’t be flipped out of a standard tin—think cheesecakes, crumbly nut cakes, layered mousses, icebox cakes, terrines and even deep quiches.
The benefit is precision and presentation. With springform recipes you can build straight sides, neat layers and biscuit bases that would otherwise crumble if turned out. They also allow you to use water baths and chill-to-set methods without damaging the structure when it’s time to serve.


Because the base isn’t permanently sealed, a springform tin can leak if used carelessly. But with the right lining, foil wrap and, where needed, a water bath, you’ll keep everything watertight and your crusts crisp.
Essential kit and techniques for successful springform recipes
A little preparation saves a lot of heartache. Here’s what helps most when tackling springform recipes:
- Choose the right size: The most common tins are 20 cm, 23 cm and 25 cm. If you scale a recipe to a different size, adjust baking time and filling accordingly.
- Heavy-gauge, light-coloured tins: Thicker walls heat more evenly; light colours reduce over-browning on the sides.
- Parchment paper: Use a circle on the base and a strip for the sides to prevent sticking and protect delicate edges.
- Wide, strong foil: For water-bath bakes, wrap the tin bottom and sides in a double layer of extra-wide foil to prevent leaks.
- Digital scales and thermometer: Accurate quantities and knowing when a custard-style filling has reached the right internal temperature make consistency much easier.
- Cooling rack and thin-bladed knife: Essential for releasing the tin cleanly and keeping the base crisp as it cools.
When a recipe calls for a water bath (common for custarded springform recipes like baked cheesecake), ensure your roasting tin is big enough to hold the springform with at least 2 cm of water depth around it. Boil the kettle before you start, so hot water hits the oven immediately and stability is maintained.
Foundational methods, step by step
Perfect crumb crust for springform recipes
Many springform bakes rely on a press-in crumb base. Blitz 200 g biscuits (digestives or similar) with a pinch of salt until sandy, then stir in 80–100 g melted butter. The mixture should clump when pressed—if it’s dusty, add a little more butter; if greasy, add extra crumbs. Press firmly into a lined tin using the base of a glass, pushing up the sides if required. Chill 15 minutes to set. For an extra-crisp base in baked springform recipes, pre-bake at 170°C (fan 150°C) for 8–10 minutes and cool before filling.
Leak-proof water bath
For silky, crack-free cheesecakes, place the filled tin on a double layer of extra-wide foil and bring it up around the sides like a parcel. Set the parcel in a deep roasting tray, slide into the oven, then pour boiling water into the tray to halfway up the sides of the springform. The foil guards against leaks; the water stabilises temperature and humidity for a custard that sets gently.
Lining, releasing and clean edges
- Base lining: Trace the tin base on parchment, cut out, and place it inside before locking the collar. Trim any excess around the outside.
- Side lining: A strip of parchment 2–3 cm taller than the tin prevents the filling from gripping the metal and gives you a pristine edge.
- Release: After baking and cooling to room temperature, run a thin knife around the inside edge. Unlatch slowly. For chilled bakes, release straight from the fridge.
Core springform recipes to master
Classic baked cheesecake: the flagship of springform recipes
Ingredients (23 cm tin): biscuit base (as above), 900 g full-fat cream cheese, 200 g caster sugar, 3 tbsp plain flour, pinch of salt, 4 large eggs at room temperature, 200 ml soured cream, 2 tsp vanilla, lemon zest.
Method: Beat cream cheese until smooth, then add sugar, flour and salt. Beat in eggs one at a time just until incorporated—avoid overmixing to limit cracks. Fold in soured cream, vanilla and zest. Pour onto the cooled base, tap to release bubbles, and bake in a 160°C (fan 140°C) water bath for 60–75 minutes until the edges are set but the centre wobbles like jelly. Turn off the oven, crack the door and cool inside for an hour before chilling overnight. This is the archetype of springform recipes—simple ingredients, impeccable texture.
No-bake chocolate torte: a quick win for springform recipes
Ingredients: chocolate biscuit base; 400 ml double cream; 300 g dark chocolate (70%); 50 g butter; pinch of salt; optional liqueur. Melt chocolate with butter. Whip cream to soft peaks, fold in cooled chocolate and salt, add a splash of liqueur if you like, and spread over the base. Chill for at least 4 hours. Slice with a hot knife for clean edges.
Basque burnt cheesecake
Unlike a classic water-bath cheesecake, this rustic Spanish version bakes hot and fast without a crust. Line the tin with overlapping parchment so it rises above the rim. Beat cream cheese, sugar, eggs and double cream until silky, then bake at 210–220°C until deeply bronzed and still very jiggly in the middle. Cool, chill and unmould. It’s forgiving, dramatic and perfect when you want springform pan ease without fuss.
Quiche Lorraine (deep-dish)
A springform tin lets you create generous, bakery-style quiches. Line the tin with shortcrust pastry, chill well, then blind-bake until lightly golden. Add a filling of crisp bacon lardons, sautéed onions, grated Gruyère and a custard of eggs, double cream and a pinch of nutmeg. Bake at 170°C (fan 150°C) until just set. The height helps prevent leakage and gives impressive slices.
Layered fruit mousse cake
Build a sponge base, then add two or three complementary mousse layers (e.g., strawberry, vanilla and lemon). Each layer should partially set before the next is added. Chill overnight, then release and smooth any rough edges with a warm palette knife. This approach plays to the strengths of springform recipes: defined layers and no need for inverting the cake.
Flourless almond-orange cake
Ground nuts don’t like being flipped; a springform tin makes removal painless. Beat eggs and sugar until pale, fold in ground almonds, orange zest and a pinch of salt, then bake until just set. Cool fully, release and dust with icing sugar. Serve with yoghurt or crème fraîche.
Icebox lemon cheesecake
For a light, zesty finish, whisk condensed milk, lemon juice and zest into cream cheese, then fold in softly whipped cream. Pour over a crumb base and chill until set. This chilled favourite shows how adaptable springform recipes can be when you’re short on time or avoiding the oven.
Seasonal twists and special-diet advice for springform recipes
Spring and summer: Top chilled cheesecakes with macerated berries, stone fruit slices or a glistening layer of fruit gel. For a garden-party finish, pipe Chantilly cream around the edge and add mint leaves.
Autumn and winter: Infuse baked cheesecakes with spices (cinnamon, ginger, cardamom), swirl in pumpkin purée, or add a salted-caramel layer. Citrus curd toppings brighten darker months.
Gluten-free: Swap digestive biscuits for gluten-free alternatives or make a nut-and-oat base with melted butter. For flourless cakes, stick to ground nuts and cornflour for structure.
Vegetarian and gelatine-free: Set mousse layers with a small amount of white chocolate or agar-agar, or use a high-fat cream whipped and stabilised with melted marshmallows. The flexibility of springform recipes makes them ideal for varied diets.
Occasions and traditions: Many bakers prepare Easter cheesecakes or rich tortes in springform tins. If you’re exploring cultural and seasonal context, you might enjoy reading background pieces such as Is Easter pagan? and Do Jewish people celebrate Easter? while planning celebratory bakes.
Common mistakes with springform recipes (and how to fix them)
- Leakage in a water bath: Always use extra-wide, heavy-duty foil and double-wrap. Alternatively, place the springform inside a slightly larger cake tin before the water bath.
- Cracks in cheesecake: Avoid overbeating (which introduces air), bake low and slow, and cool gradually in the oven with the door ajar. A thin sour cream layer after baking disguises minor cracks and adds shine.
- Soggy base: Pre-bake crumb crusts, cool fully before filling, and keep foil wrapping tight. For chilled recipes, brush the base with a little melted chocolate to create a moisture barrier.
- Sticking to the sides: Line with parchment and run a warm, thin knife around the edge before unclasping.
- Overbaking: Custard-style fillings should still wobble in the centre; they firm up as they cool. If you see bubbling around the edges, it’s gone too far.
- Uneven layers: For layered springform recipes, chill each layer until softly set before adding the next, and use a level surface in the fridge.
Serving, storing and transporting
For clean slices, chill well and use a long, sharp knife warmed in hot water and wiped between cuts. Transfer your bake on the springform base to a serving plate; if you prefer not to mark a favourite platter, place a parchment round underneath.
Most baked cheesecakes keep 3–4 days in the fridge; chilled no-bake versions are best eaten within 2–3 days. Many springform recipes also freeze well: freeze uncovered until firm, then wrap tightly. Thaw overnight in the fridge and refresh with a sauce or fresh fruit.
To transport, keep the collar on for support, wrap in cling film, and pack in a cool box. Remove the collar just before serving to reveal pristine sides.
Recommended external resources
- Overview of springform pans and how they work for a quick reference on design and uses.
- King Arthur Baking’s step-by-step guide to cheesecake for technique, troubleshooting and topping ideas.
- BBC Good Food’s cheesecake collection featuring baked, no-bake and seasonal variations.
- Serious Eats on using a water bath for cheesecake for science-backed tips to prevent cracks and curdling.
Related articles
Frequently asked questions about springform recipes
Do I always need a water bath for cheesecake?
No. Many baked cheesecakes benefit from a water bath because it promotes gentle, even heat and reduces cracking. However, styles like Basque burnt cheesecake are baked hot without a water bath on purpose. Read the recipe closely; most classic springform recipes will tell you when a bath is essential.
How do I stop my tin from leaking?
Use extra-wide, heavy-duty foil and double-wrap the base and sides. Press the foil firmly to remove gaps. For very thin batters, you can also place the springform inside a slightly larger cake tin or use a silicone “collar” to seal the seam.
Can I substitute biscuits in the crumb base?
Yes. Digestives, hobnobs, shortbread or ginger nuts all work. For gluten-free springform recipes, choose gluten-free biscuits or use a blend of toasted nuts and oats bound with butter. Adjust butter slightly to reach a mixture that presses and holds.
How do I convert tin sizes?
Calculate the area of your tins (πr²). A 23 cm tin has roughly 415 cm²; a 20 cm tin has about 314 cm². If moving from 20 cm to 23 cm, increase ingredients by roughly a third. Watch baking time—thicker fillings in smaller tins take longer.
Why did my cheesecake crack even though I used a water bath?
Overmixing introduces air, which expands and can crack the surface. Also, abrupt temperature change can cause splitting. Mix on low just until combined, bake until the centre wobbles, and cool gradually with the oven door ajar.
How long should I chill before unmoulding?
For baked cheesecakes, chill at least 6 hours, ideally overnight. For no-bake springform recipes, give them 4–6 hours or as specified. The colder and firmer the set, the cleaner the release and slice.
Conclusion on springform recipes
With a simple latch-and-base design, springform tins make otherwise fiddly bakes easy to unmould and beautiful to present. Once you understand lining, wrapping and temperature control, springform recipes become remarkably reliable—from classic baked cheesecake to chilled tortes, deep quiches and elegant mousse layers.
Focus on the fundamentals: a well-pressed crust, careful mixing to minimise air, steady baking (or thorough chilling), and patient cooling. These small habits transform springform recipes into repeatable successes that look professional without specialist equipment.
As you experiment with seasonal flavours and dietary tweaks, keep a few trusted base methods in your repertoire and build from there. With these techniques, you’ll be ready to serve confident slices at any gathering—clean edges, balanced textures and flavours that shine.
